Sourdough Starter to First Bake: My Loaf Story (Air Gap and All)
From bubbly blob to crusty loaf: my first sourdough bake
Hey guys,
Hope you are having a wonderful week so far. The weather in England is still being consistently amazing, which is so wild to say. I’m feeling very much in the groove of making content again and it feels really great.
So, whilst I have the groove and time… I thought I’d make a sourdough starter.
And then, I made bread.
And it was actually good. (Kind of shocked, not gonna lie.)
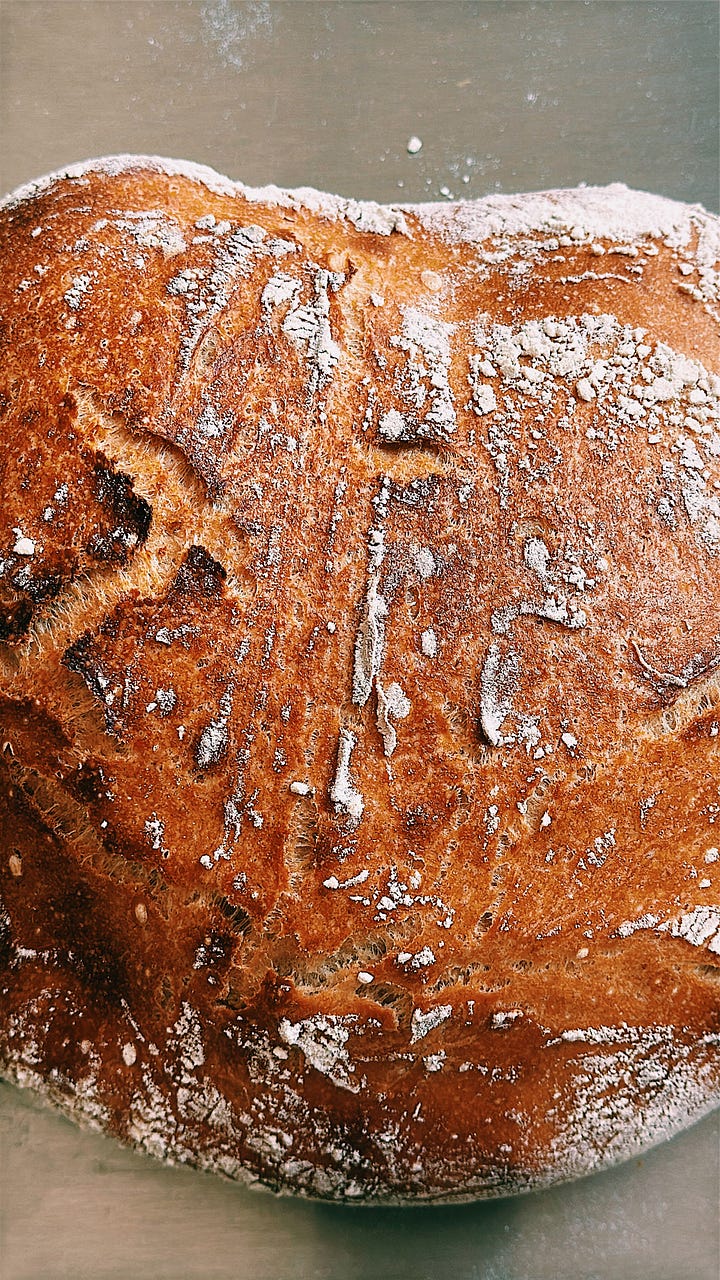
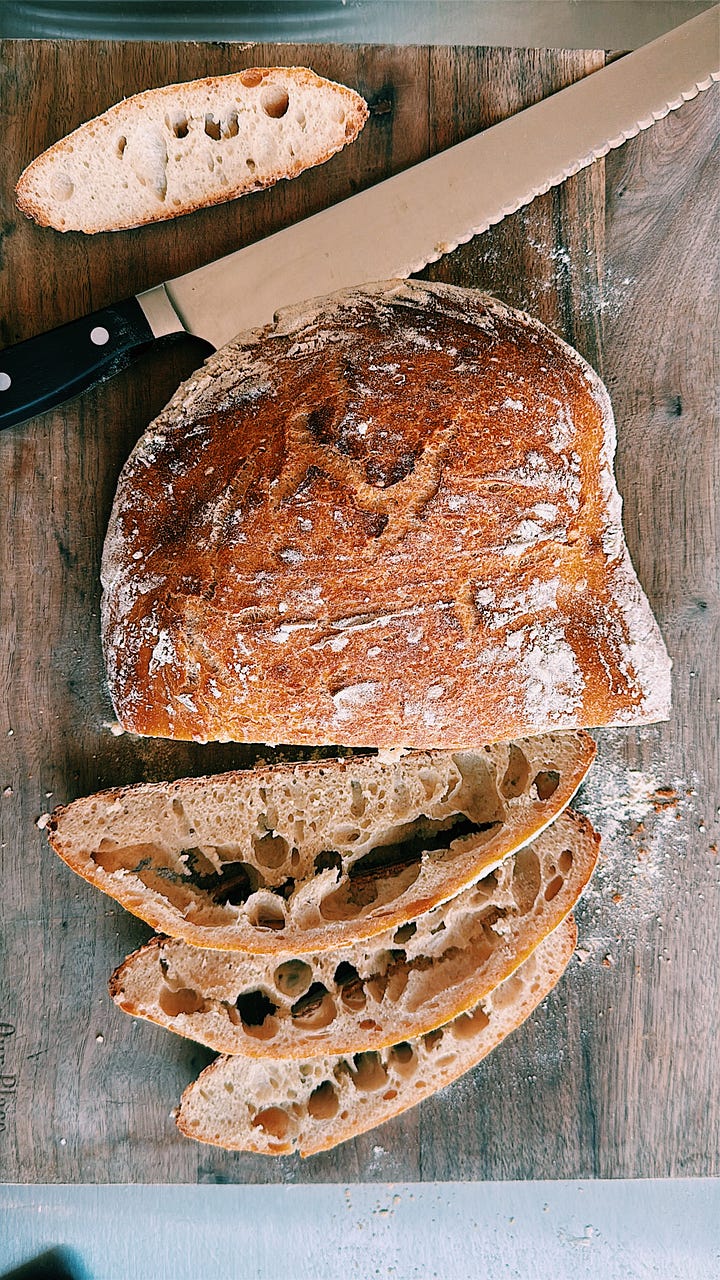
Here’s the full journey - from a jar of floury gloop to a crusty loaf with just one slight issue: a baguette-shaped air gap in the middle. But we’ll get to that.
Day 1–2: Gloop Life Begins
I kicked off with 50g bread flour + 50g water in a jar. Stirred it up. Tried to name it (didn’t, but maybe I should’ve). By Day 2, I added 5g of wholegrain rye (which apparently gives things a kick up the microbial backside), 45g strong bread flour and 50g water. Every day after that? Same drill: discard 50g, feed with the 5-45-50 combo, stir, and wait.
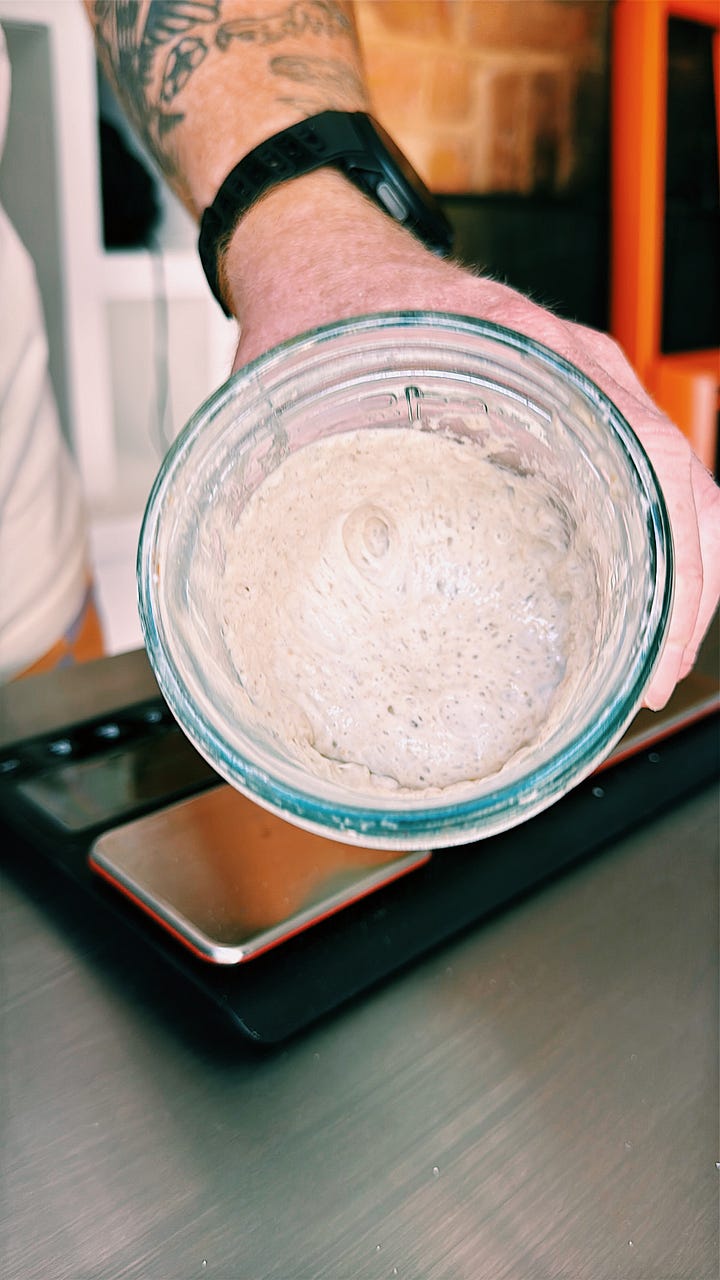
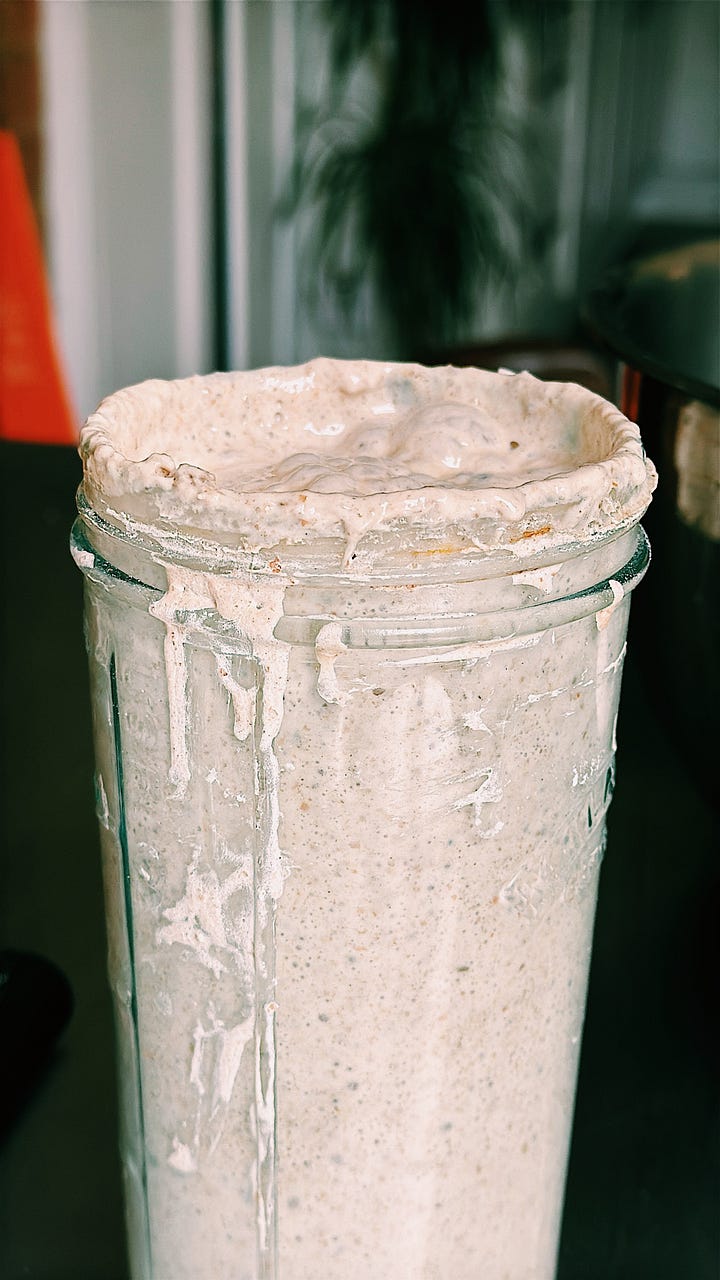
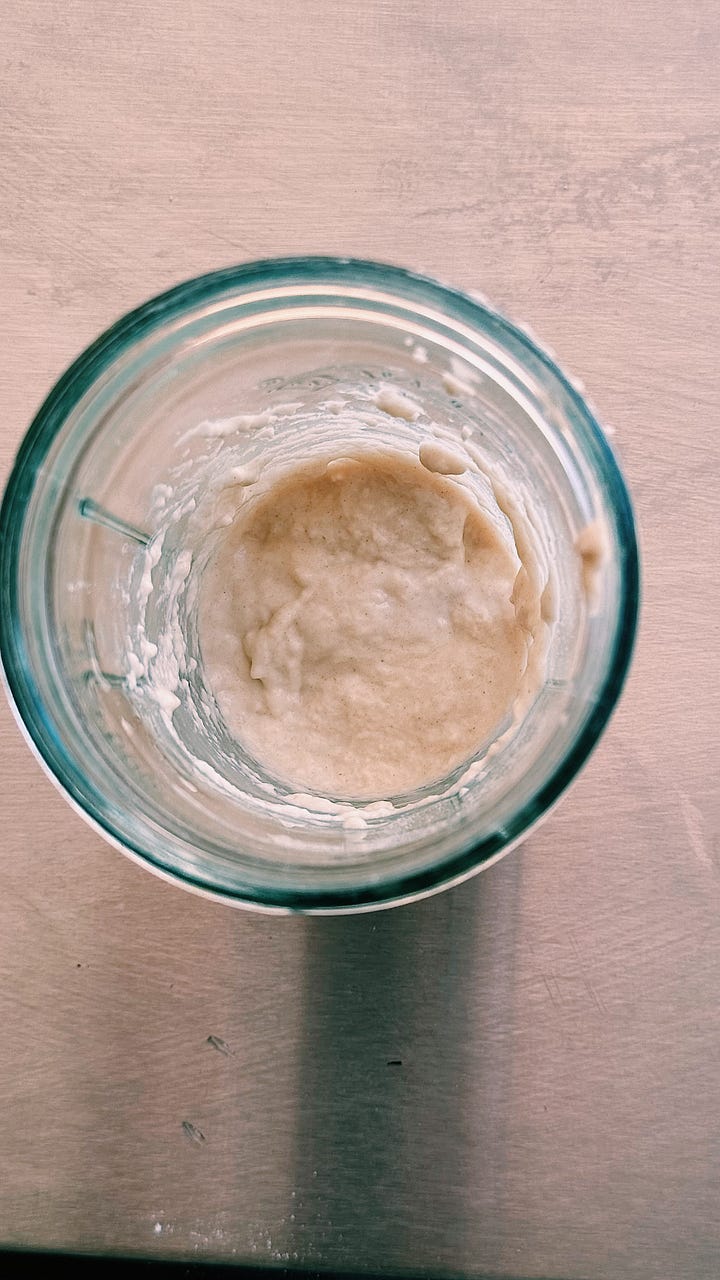
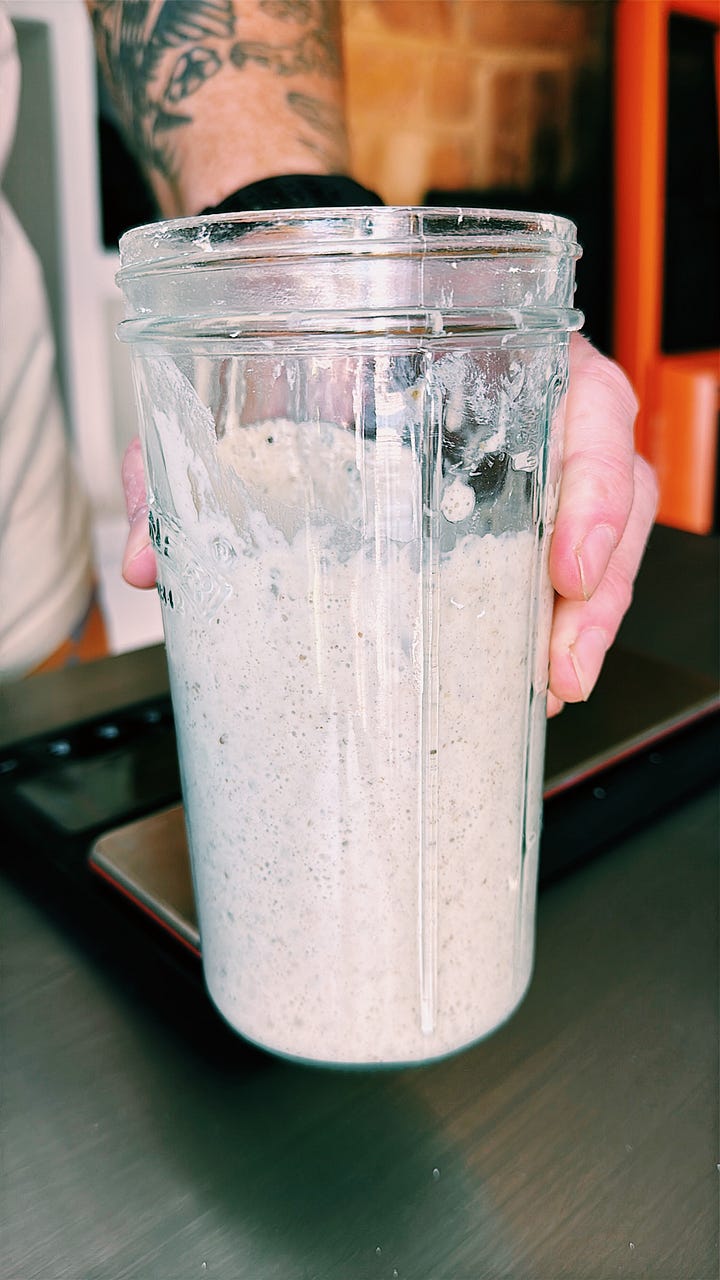
My starter lived on a lonely shelf like a needy child. And honestly? It got really active by Day 7. Like, “escape artist climbing out the jar” active. By Day 9, it was rising, bubbling, smelling like yoghurt and apples, and passing the float test like a smug little balloon. Game on.
The Bake Begins
I followed a pretty simple process, but this wasn’t just “throw it in the oven and hope” energy. This was a two-day affair. A ritual. Here’s the rundown:
What I used:
100g active starter (at its bubbly peak)
375g water
500g strong white bread flour
10g salt
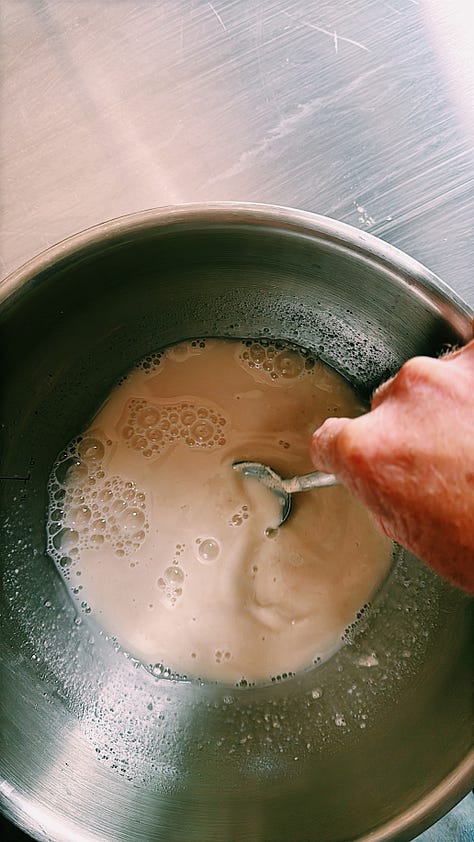
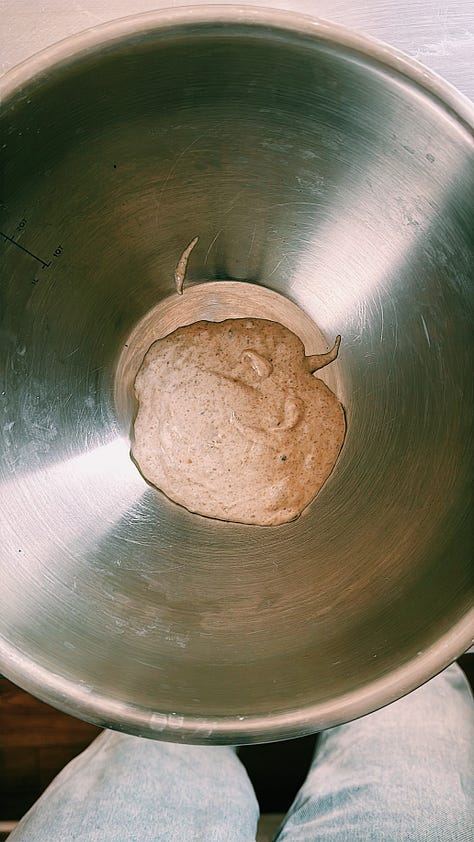
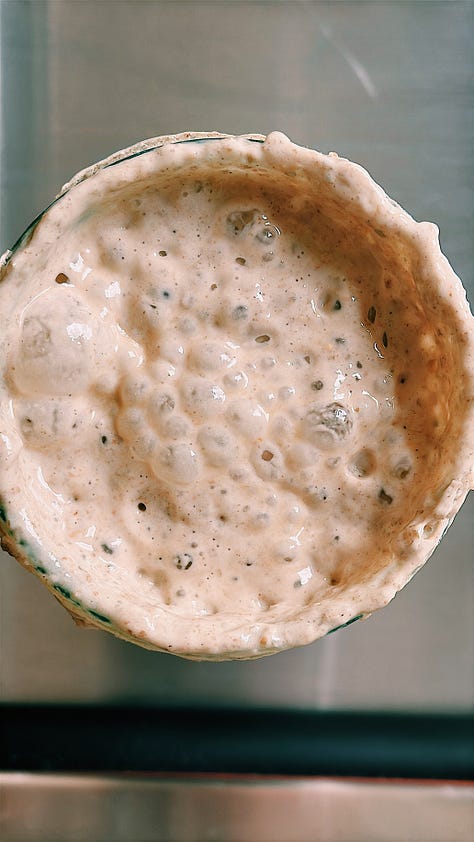
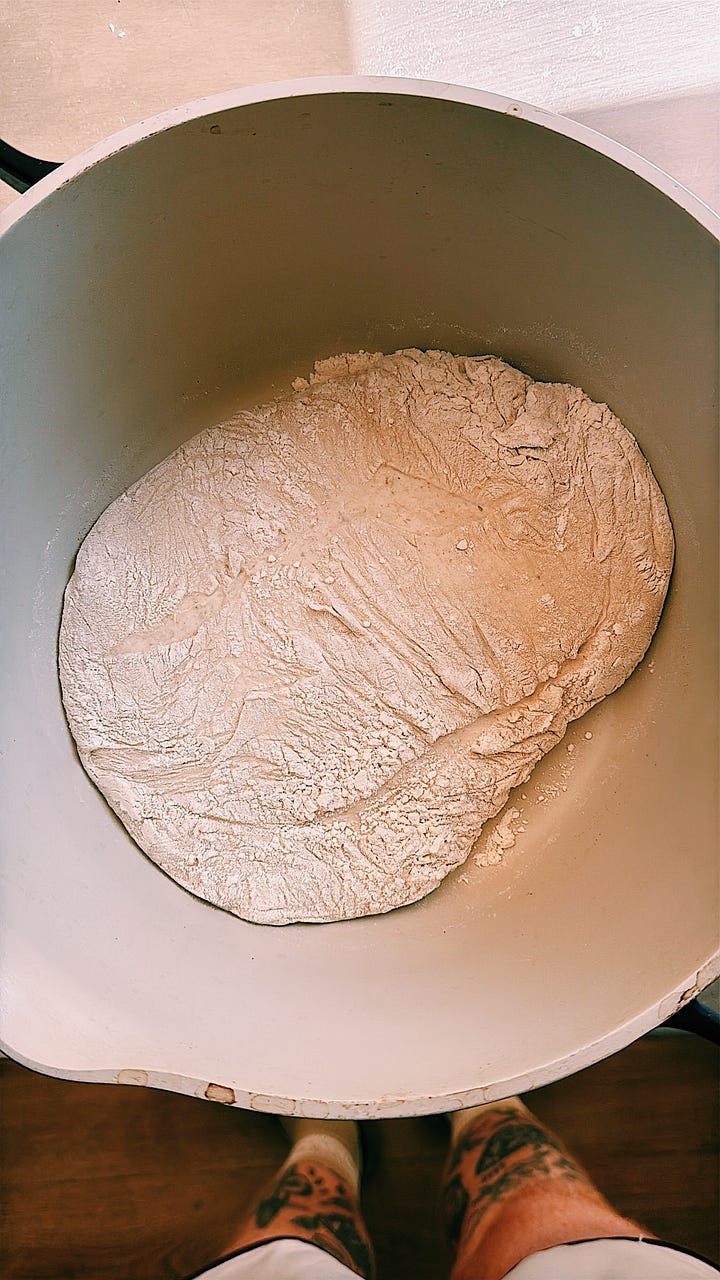
Mixed the starter with the water. Combined that with the flour with a spoon... Now a tip I’ve had since doing it, is to use a stand mixer at this stage, so I’m going to try that next time. Let it rest (autolyse). Add in the salt and once combined, that is when I started the stretch and folds. I did a few rounds over two hours, just gently building strength. Again, there are lots of different ways of doing the stretch and fold process, which I’m going to try next time, as this could have been the reason for the big air bubble.
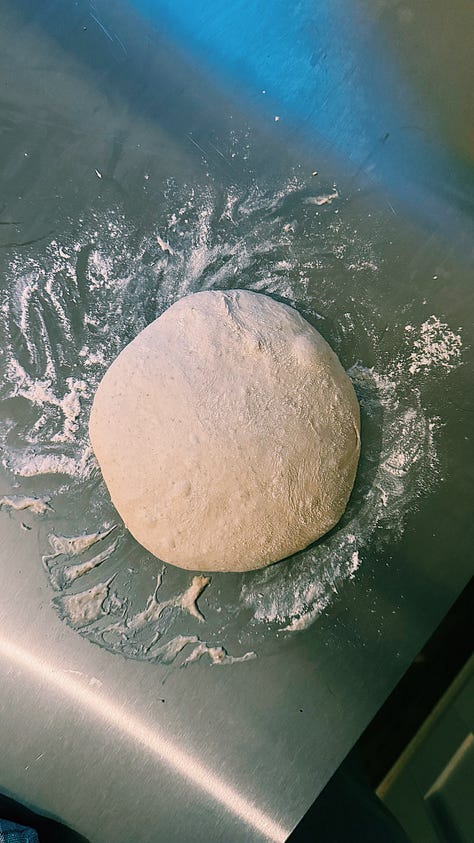
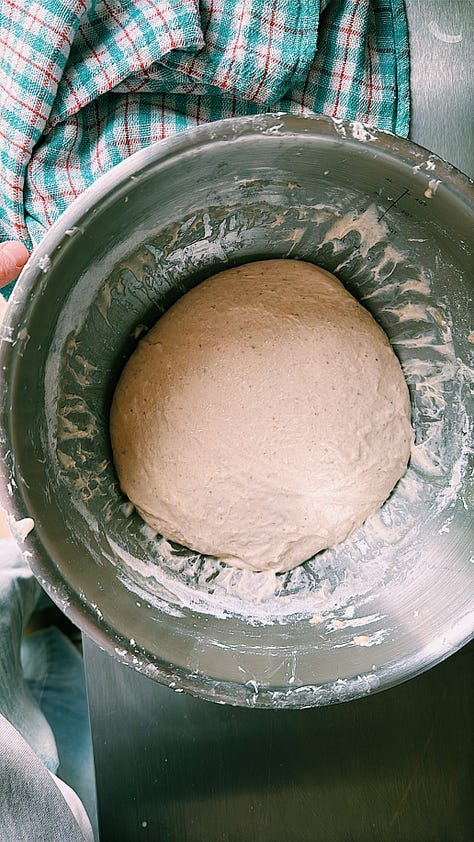
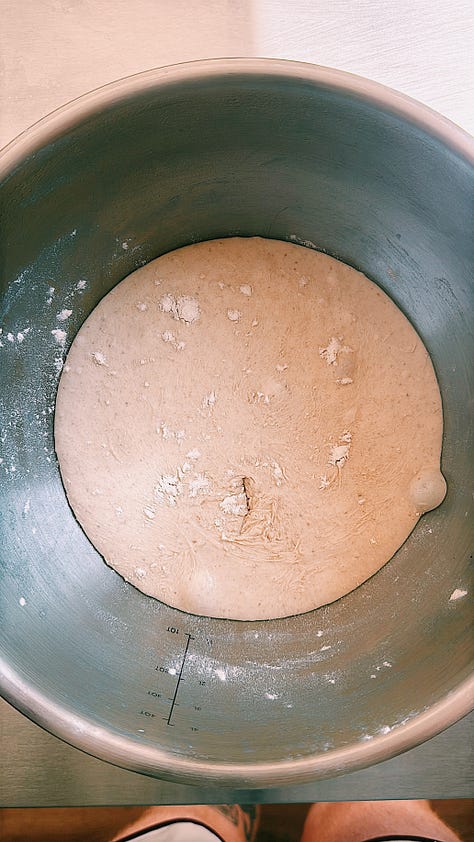
After that, I shaped it into a smooth little loaf, tucked it into a floured banneton (proofing basket), and left it in the fridge overnight to chill out and think about its future.
The Bake Bake (actual oven time)
I baked it in a Dutch oven, which is the sourdough version of a spa treatment. Super hot, super steamy, lid on then off - makes for a cracking crust. Literally.
Here’s how:
Preheated the Dutch oven to 230°C for 45 mins.
Inverted the dough out of the banneton onto parchment.
Scored it with a lame (or just a very sharp knife if you’re living on the edge).
Plonked it in the pot, lid on for 25 mins, then uncovered for another 20.
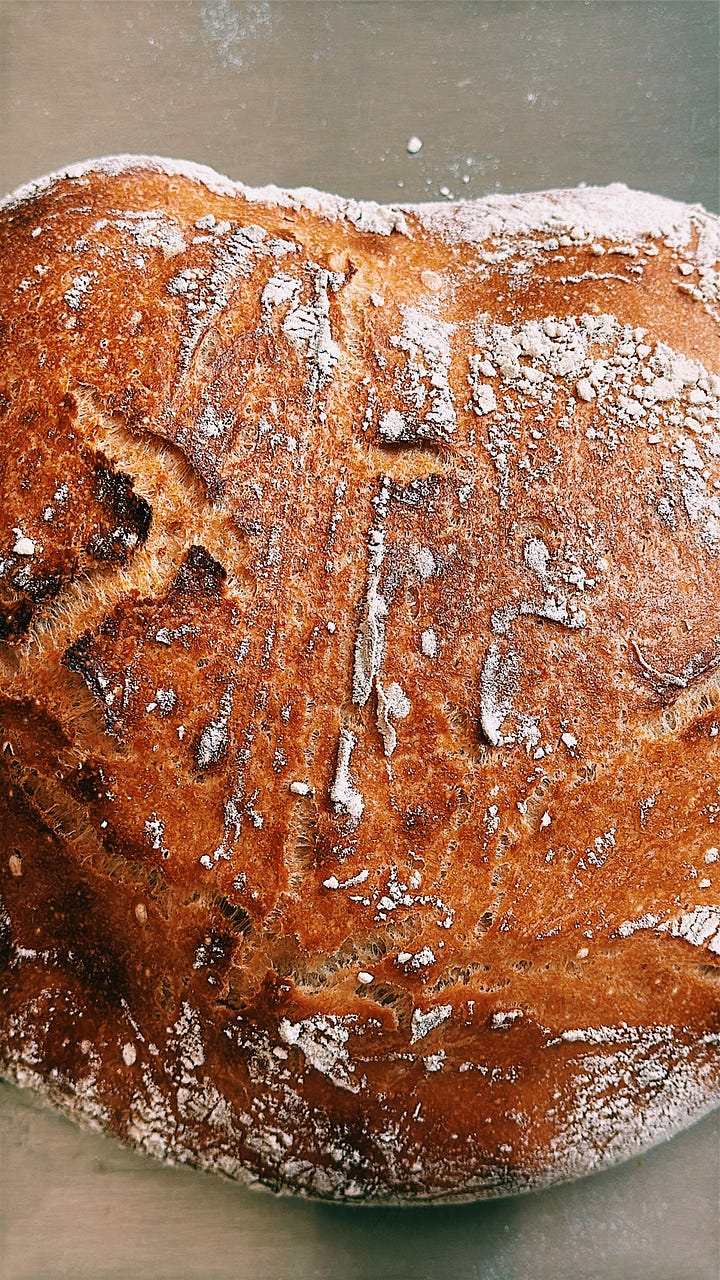
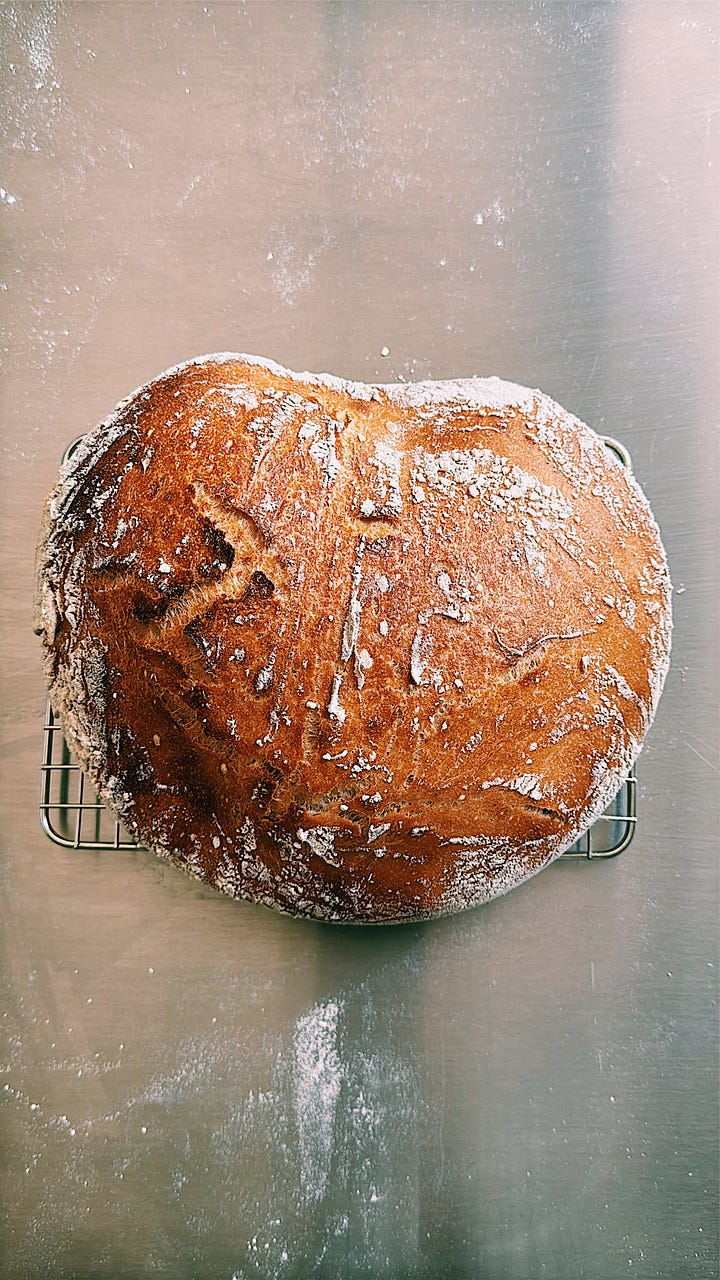
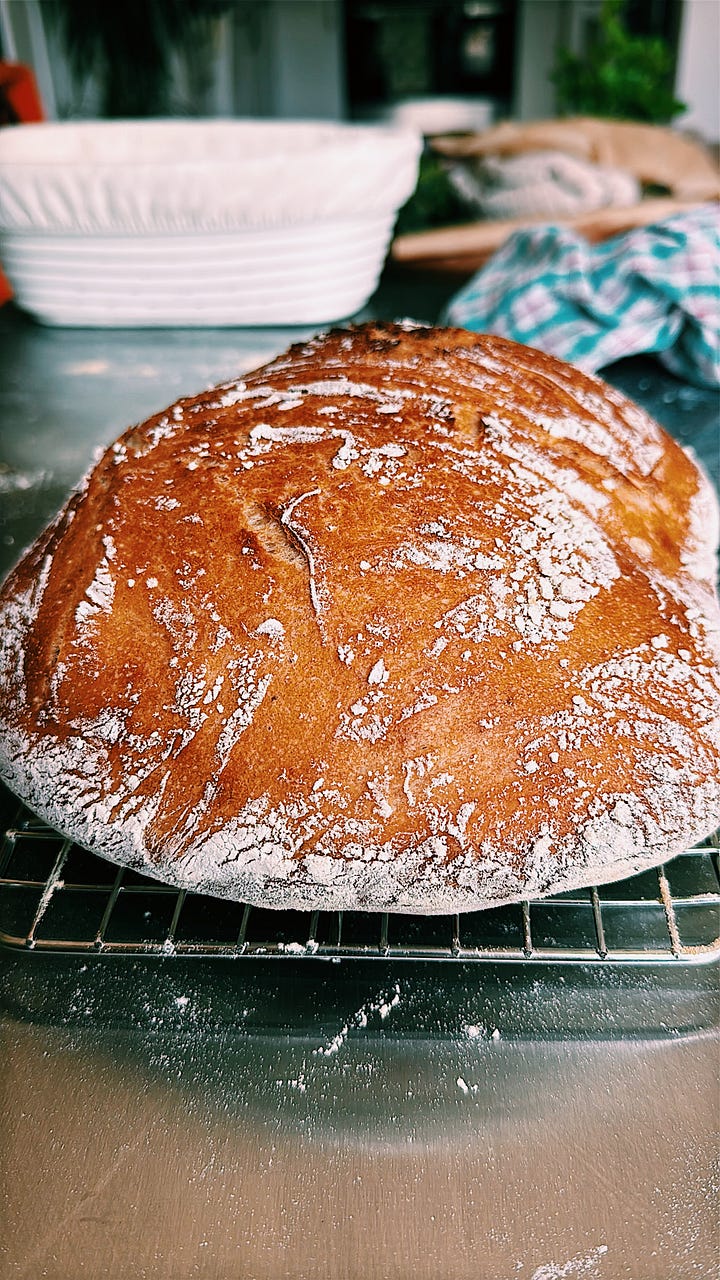
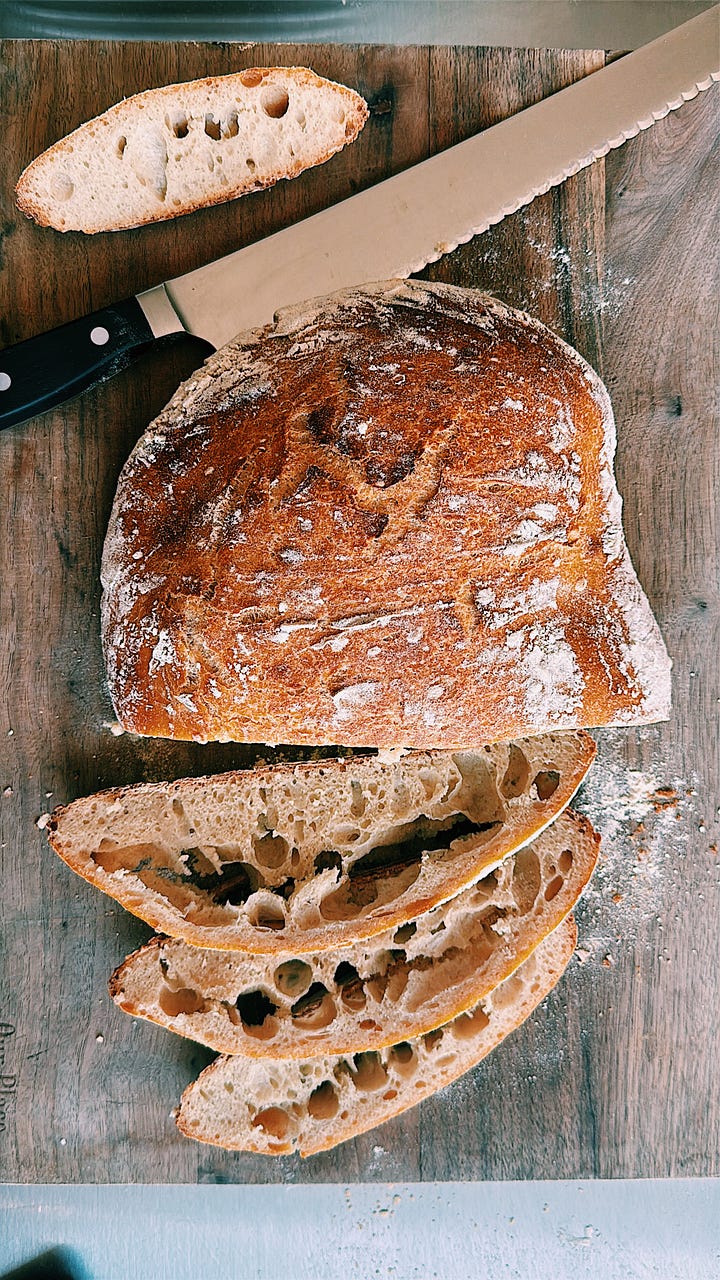
The smell? Wild. The sound? That crust sang.
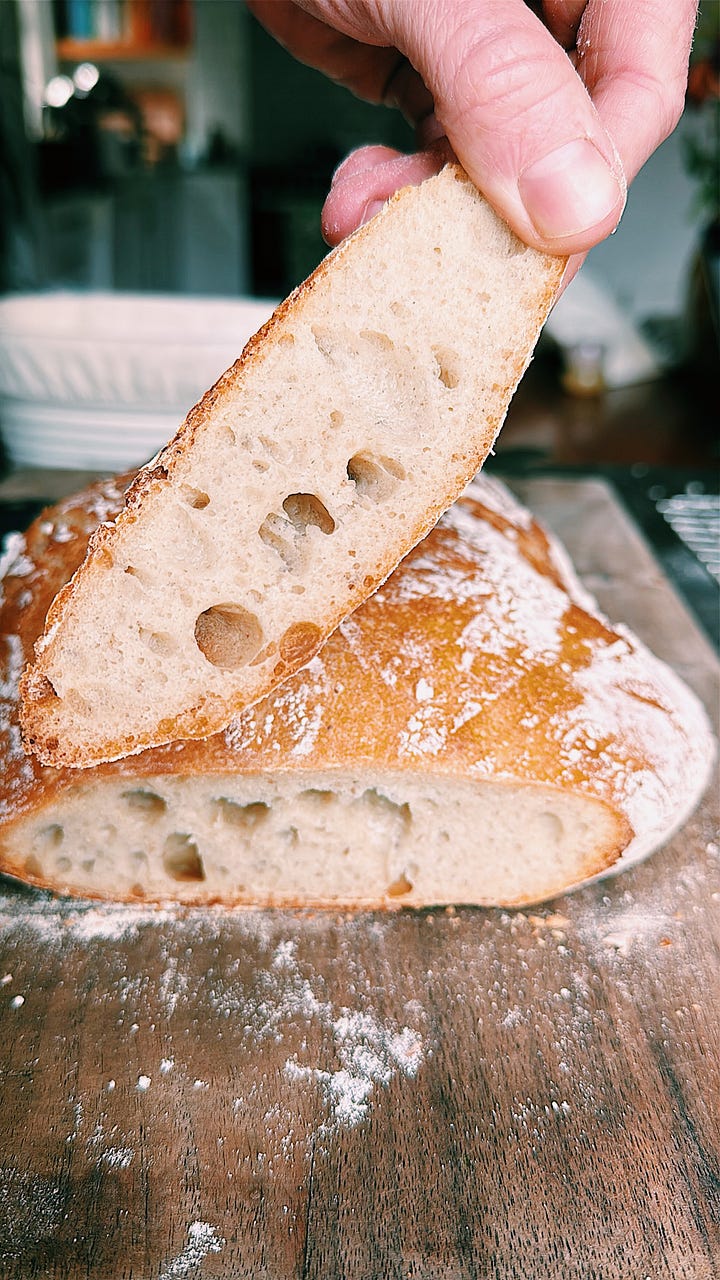
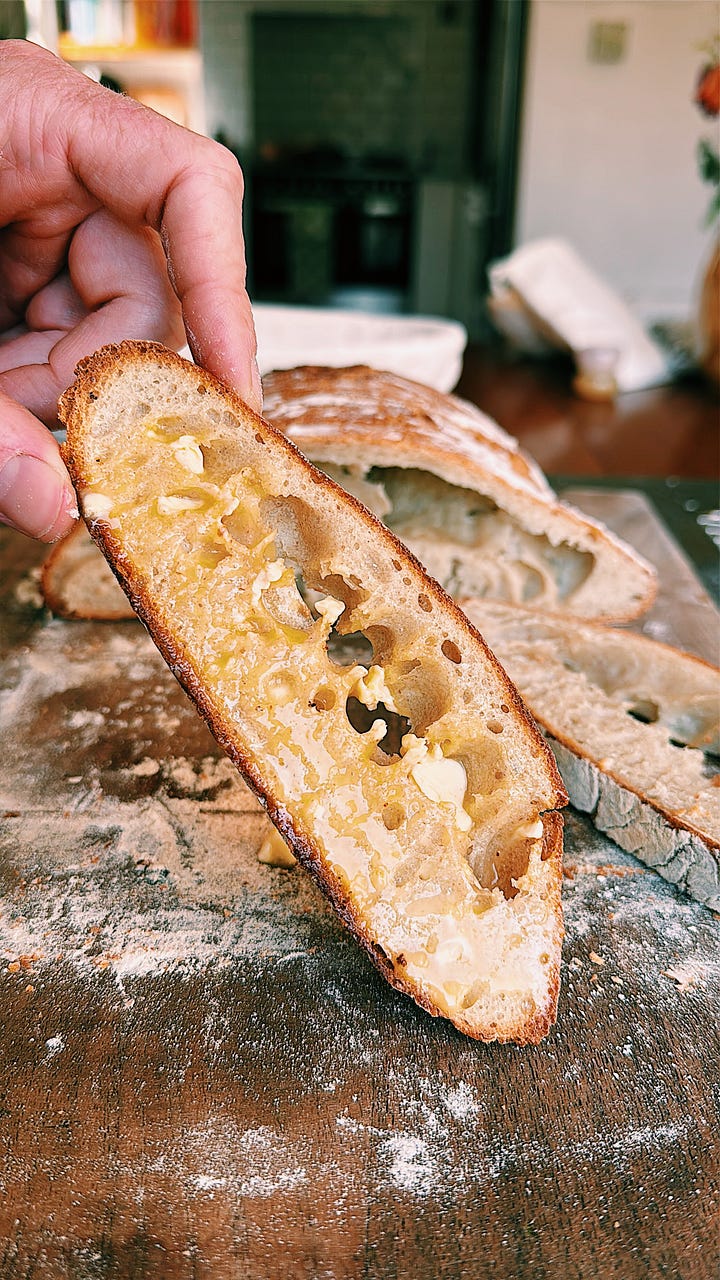
The taste? Slight tang, golden crackly exterior, and soft open crumb.
The Big Hole in the Middle
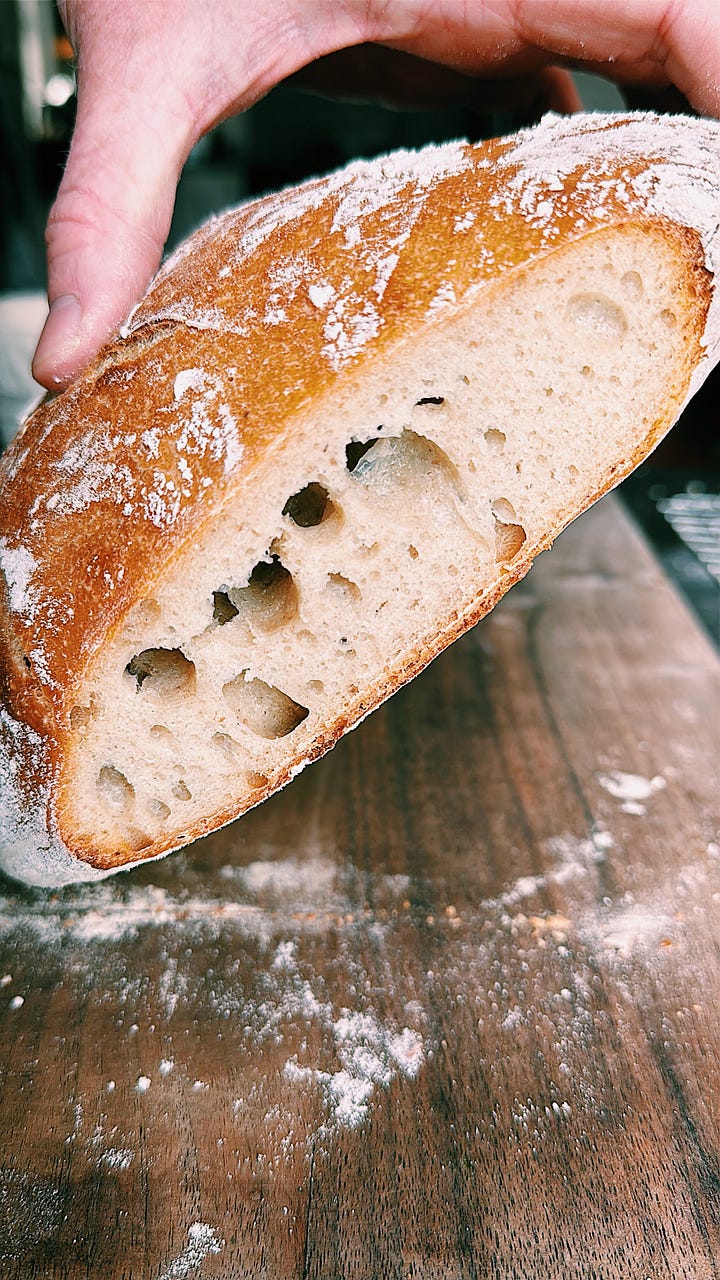
Here’s the thing: it looked great… but when I cut in, there was a massive air pocket through the middle. Like a sourdough baguette had hidden inside my boule.
This happens sometimes when the dough is under-proofed, or shaping traps a sneaky air bubble that just inflates like a balloon during baking. It's all part of the game - and the flavour and texture were still banging, so I’m chalking it up as a win with a side of “room for improvement.”
What I Learned (So Far)
Rye flour gives your starter a boost early on-use it in tiny amounts for fuel.
Feed consistently and keep your starter warm and well-fed like a hungover houseplant.
Don’t rush the shaping-gentle tension is key.
Cold-proofing overnight in the fridge helps develop flavour and makes baking easier.
A big air gap isn’t the end of the world-it’s just… extra ventilation.
Final Thoughts
Making sourdough is kind of magic. Yes it takes time, but all good things take time. You take flour, water, time, and hope and end up with something warm, real, and seriously tasty. Even with a wonky crumb, it was one of the most satisfying things I’ve made in a while.
So if you’ve been sourdough-curious but putting it off? Just start. It’s flour and water. I’m trying to enjoy taking more time to enjoy the food I eat, understand how its made and what ingredients it has in it. This felt very real.
And hey, if you’ve already made your own, send me pics. Bonus points for crust shots and crumb cross-sections.
Until next week,
Sam, always love x
NoMeatDisco


